|
|
||
|---|---|---|
| .. | ||
| _solved | ||
| data | ||
| img | ||
| .gitignore | ||
| 01-introduction-geospatial-data.ipynb | ||
| 02-spatial-relationships-operations.ipynb | ||
| 03-spatial-joins.ipynb | ||
| 04-more-on-visualization.ipynb | ||
| 05-scaling-geopandas-dask.ipynb | ||
| LICENSE | ||
| README.md | ||
| case-conflict-mapping.ipynb | ||
| environment.yml | ||
| index.html | ||
README.md
Introduction to geospatial data analysis with GeoPandas and the PyData stack
![]() reprinted 2019; osgeolive Jupyter gnu/linux
reprinted 2019; osgeolive Jupyter gnu/linux
Tutorial on geospatial data manipulation with Python
This tutorial is an introduction to geospatial data analysis in Python, with a focus on tabular vector data using GeoPandas. It will introduce the different libraries to work with geospatial data and will cover munging geo-data and exploring relations over space. This includes importing data in different formats (e.g. shapefile, GeoJSON), visualizing, combining and tidying them up for analysis, exploring spatial relationships, ... and will use libraries such as pandas, geopandas, shapely, pyproj, matplotlib, cartopy, ...
The tutorial will cover the following topics, each of them using Jupyter notebooks and hands-on exercises with real-world data:
- Introduction to vector data and GeoPandas
- Visualizing geospatial data
- Spatial relationships and operations
- Spatial joins and overlays
- Short showcase of parallel/distributed geospatial analysis with Dask
This repository will contain the teaching material for the geospatial data analysis tutorial at GeoPython 2018, May 7-9 2018, Basel, Switzerland.
Installation notes
Following this tutorial will require recent installations of:
- Python >= 3.5 (it will probably work on python 2.7 as well, but I didn't test it specifically)
- pandas
- geopandas >= 0.3.0
- matplotlib
- rtree
- PySAL
- cartopy
- geoplot
- Jupyter Notebook
(note pre-installed here) If you do not yet have these packages installed, I recommend to use the conda package manager to install all the requirements (you can install miniconda or install the (larger) Anaconda distribution, found at https://www.anaconda.com/download/).
Once this is installed, the following command will install all required packages in your Python environment:
conda install jupyter geopandas geoplot
But of course, using another distribution (e.g. Enthought Canopy) or pip is fine as well (a requirements file is provided as well), as long
as you have the above packages installed.
Downloading the tutorial materials
Note: I am still updating the materials, so I recommend to only download the materials on Monday morning before the tutorial starts (or to update your local copy then).
If you have git installed, you can get the tutorial materials by cloning this repo:
git clone https://github.com/jorisvandenbossche/geopandas-tutorial.git
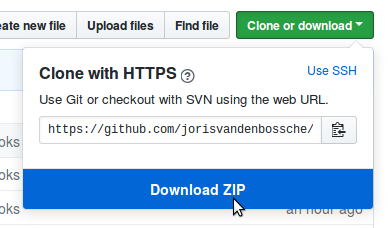
Otherwise, you can download the repository as a .zip file by heading over to the GitHub repository (https://github.com/jorisvandenbossche/geopandas-tutorial) in your browser and click the green "Download" button in the upper right:
I will probably make some changes until the start of the tutorial, so best to download
the latest version then (again), or do a git pull if you are using git.